Wednesday, April 13, 2011

HARUNI

Just finished a "shawlette" in lace weight mohair (Knitpicks "Aloft"). The pattern is called "Haruni", and can be downloaded HERE (free!). If the photo looks a bit fuzzy, it should- the yarn is quite fuzzy too. I loved making the shawl, and I love the way it came out. I am making the same shawl in Jojoland "Melody", but it is not quite ready for photography yet- melody is a very elastic wool, so it will look like a scrunchy mess until I block it. Below are some more photos of the "Aloft" shawl (click to enlarge). Do you like the lovely garbage can in the background, along with those feed sacks full of composted horse manure for the garden? Such a lovely touch!


Tuesday, March 29, 2011

BRIOCHE DISHCLOTH MADNESS


Brioche stitch has always been one of my favorites. I suspect my infatuation with it began when I figured out that I could make deep, tidy ribbing without purling (see my previous post on PRIME RIB). I never cared much for purling. Another benefit of Brioche stitch is the fun easy rhythm of that "yarnover, slip, knit two together". A certain child of mine, who shall remain nameless lest he be embarrassed, set this little mantra to the tune of "One little two little three little Indians"!

I love to experiment with Brioche stitch. Making dishcloths is the perfect way to do it! The stripey violet cloth at above left is plain Prime Rib in two colors. Below are two variants made by beginning in the middle, and adding new ribs to the outer edge:


If you work the Brioche stitch on one side of the fabric only, and just knit the other side (but not the yarnovers, which are just slipped), you get what Barbara Walker refers to as "Double Brioche stitch". (Seems illogical to me- it should be named "Half Brioche stitch" in my opinion). In Nancy Marchant's new book on Brioche stitch, she refers to this stitch as "Honycomb Brioche". Whatever you call it, this is my favorite one to play with. Below left is simple Honeycomb Brioche, which is the basis for my "Colorwave" dishcloth pattern. Below right is what you get by giving alternate rows of yarnovers a simple twist. The difference is amazing, isn't it???


What happens if you knit every third row, and twist the relative positions of the yarnovers? You get this, below left. If you twist every other row, instead of every third row, you get this below right! (click to enlarge) Absolutely incredible!!


I have used Honeycomb Brioche to make numerous hats, mittens, scarves, and even sweaters, but have been handicapped by the relative difficulty of shaping the garments. Adding or removing stitches with Brioche is rather complicated. So I am very pleased to have recently discovered, thanks to the dishcloth experiments, a way to make the fabric wider or narrower. I worked these shapings into a dishcloth with a charming ripple pattern-- TA DA! This is the photo at the top! You will find the pattern HERE.

Perfect cotton yarn for making lots of dishcloths, as well as free patterns for same, is available on my website: click the link below!
Sunday, March 6, 2011

BLOOMING!


The Faroese Flower shawl is complete! I am quite happy with the way it came out, except for the beads. I tried adding seed beads to the scalloped edging, but they were invisible. The larger beads look pretty, but add a lot of weight to the shawl. I figure if a mugger comes up behind, I can just sling the edge of my shawl, and it will knock them out cold!

I also wish I had gone down about two needle sizes to tighten up the gauge a bit.


Next on the list: Haruni


CLICK HERE TO SHOP


Tuesday, March 1, 2011

WORKING WITH COLOR

I love color. I love it too much. It almost bores me to tears to have to knit something in a solid color, because I get tired of it. I used to only buy yarns that were sold as "variegated", or dyed many colors (nowadays they are called "handpaints"). As fun as they are to knit with, colorful yarns don't work very well for certain types of knitted garments.

For most garments that are knit from the bottom up, the colors work into horizontal stripes. Trust me, if you have a body shape like me, the last thing you need is horizontal stripes! The images below show some socks where the colors fell at random. Pretty, but stripey.

Another problem: if the garment has cables, lace, or textured stitches, bright colors will obfuscate them. Below left is the result of one of my first attempts to dye crochet thread in bright colors. I begged a friend of mine to crochet a doily from it (pattern available HERE), and, probably against her better judgement, she graciously obliged with this (thanks Vera!).

Can you see the pretty stitchwork?

NOPE! What to do?


1. Use yarn or thread with colors of the same value, or intensity. On the right is a knitted doily (pattern available HERE) where the pretty lace pattern shines through.

2. Use yarn with VERY LONG color changes such as Noro, Mochi, and others. Shown at right is a shawl made from Evilla Artyarn 8/2. The long and gradual color changes in this yarn don't hide the beautiful lace stitch (pattern HERE).

3. Use the the color changes as a design element. If the construction of the garment is a little unusual, stripey yarns will enhance it. Check out this "Baby Surprise Jacket" on the right (pattern HERE).

Here is a cute bookmark crocheted in shell shapes (pattern available HERE), which the color changes in the thread emphasize nicely. The thread is available HERE.


4. But the four photos below illustrate my very favorite way to use colorful yarns: work up patterns that pool the colors into puddles. I love to knit with yarns like these, because you never know quite how its going to work out, but it is always interesting! Here are a few of the designs I've come up with to pool the colors in my own hand dyed yarns. Clockwise from upper left they are Mary's owl sweater, the colorwave toddler hat, the colorwave socks, and the bias brioche bookmark.


CLICK HERE TO SHOP


Thursday, February 24, 2011

THE COTTON DYE WORKSHOP


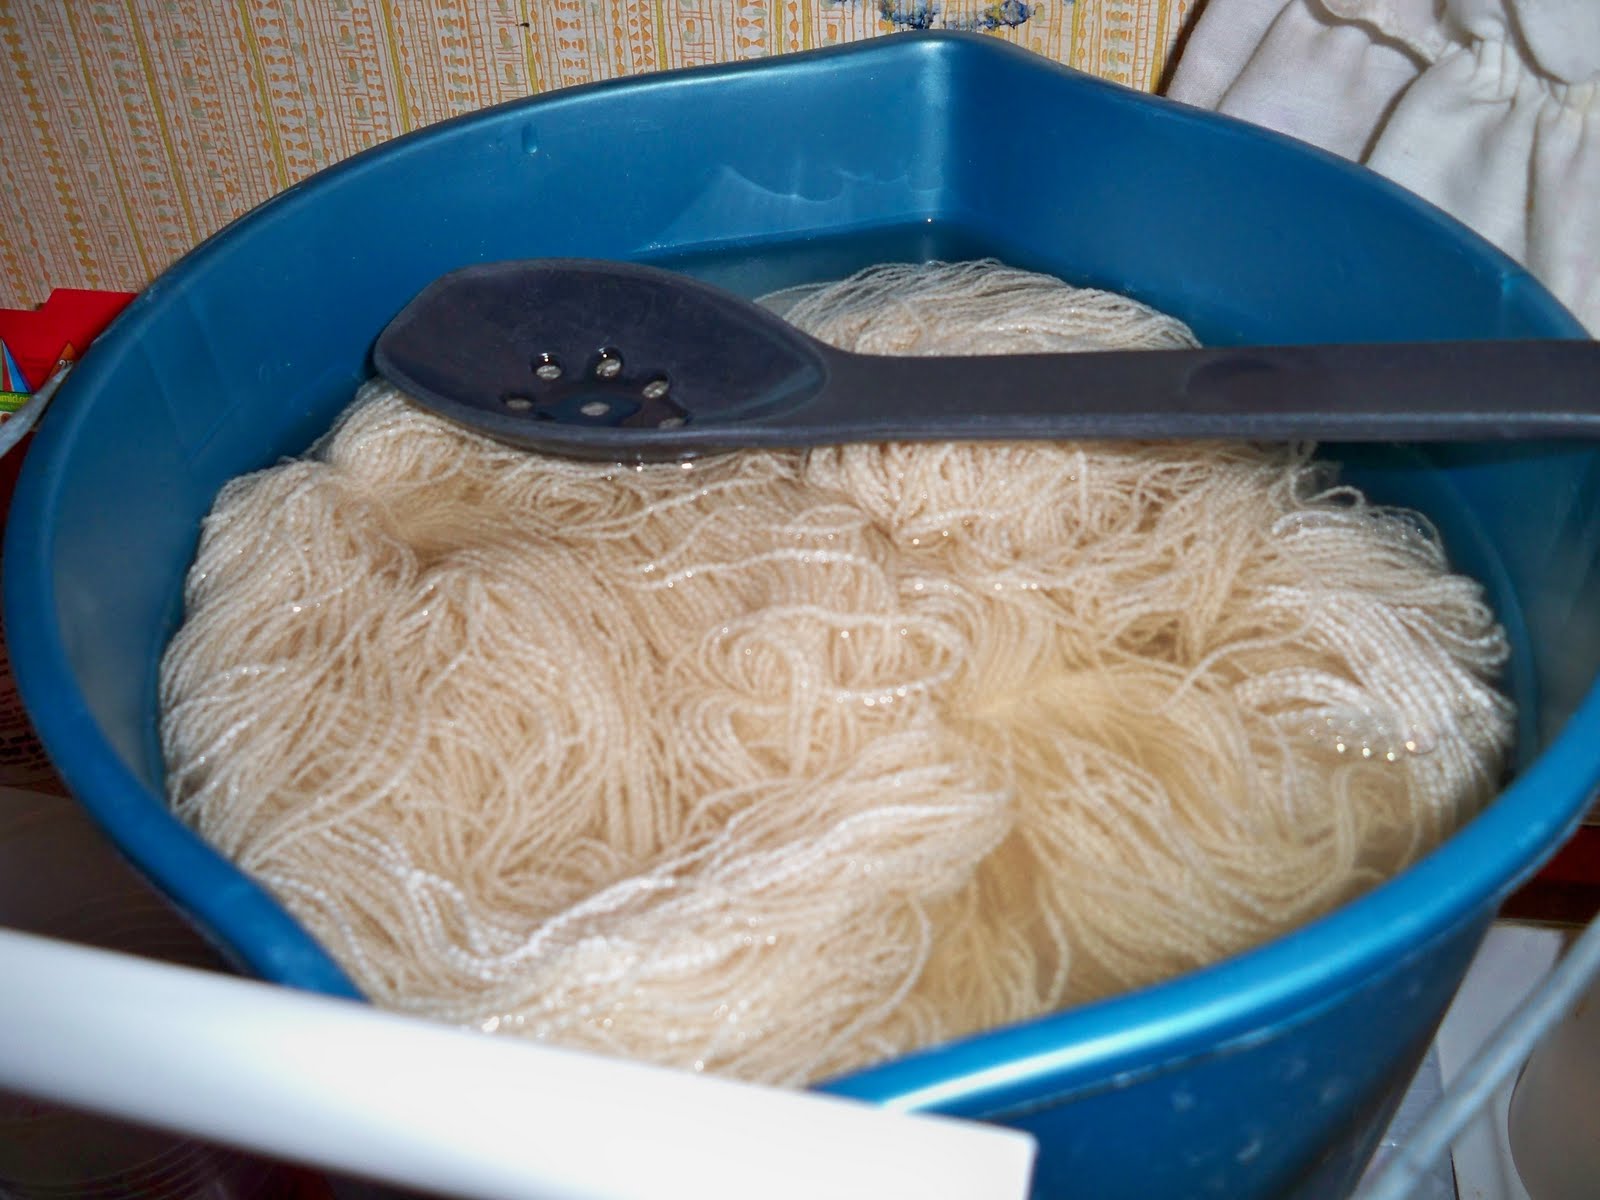
This is how cotton comes from the supplier. It has to be wound into skeins (demonstrated in a former blog post HERE), thoroughly washed in very hot water with super-detergent, rinsed, and spun out.


Here it is clean and damp, awaiting its turn in the dye vat.


But first it has to be soaked in washing soda.


There are stock dye solutions in the bottles, and the dyes are mixed in plastic cups. Don't worry, I never drink out of these!


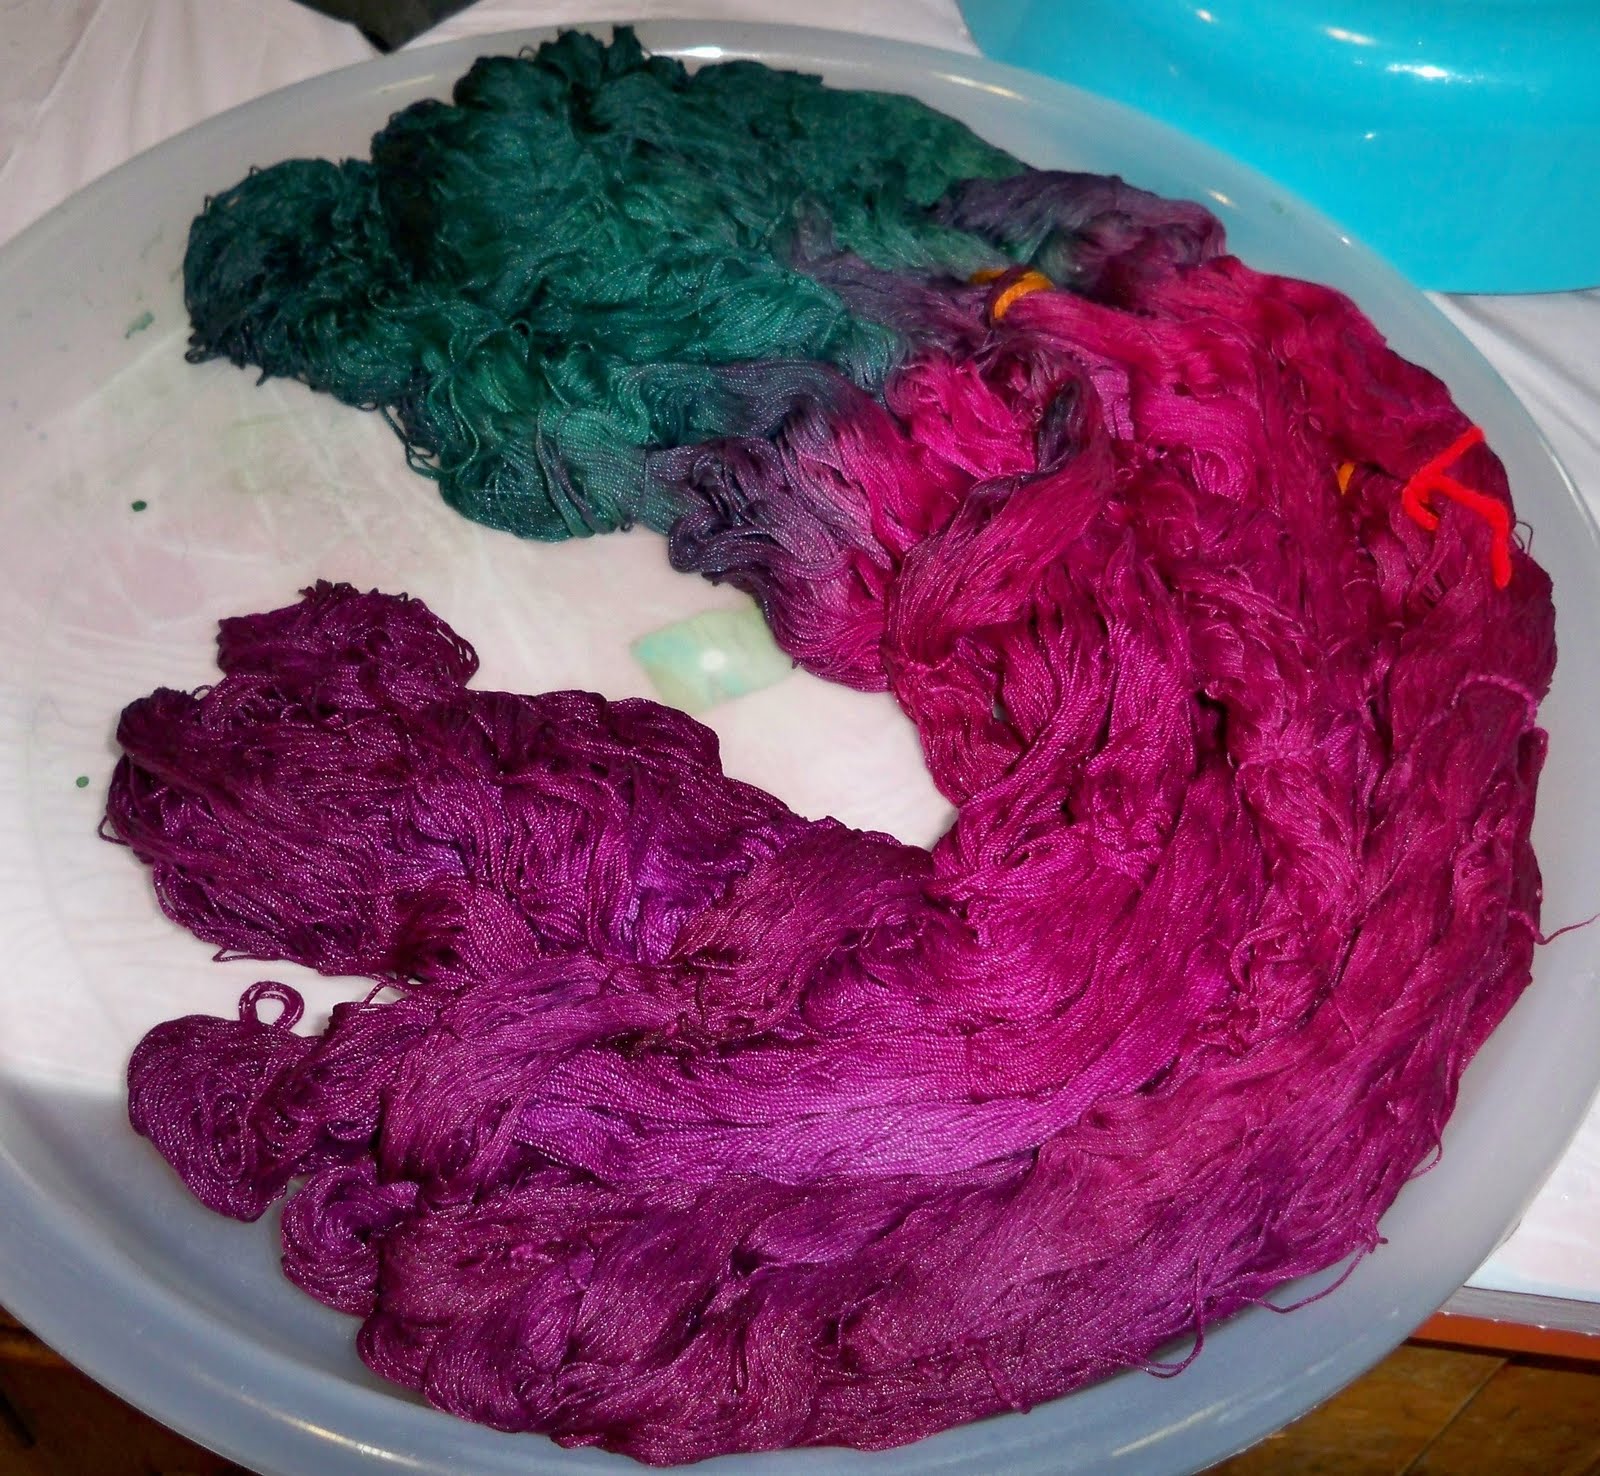
Here is the cotton with freshly applied dye. It has to sit around for a while for the dye to set. So pretty!


Now comes the (groan) finishing process. First, a hot Synthrapol soak. Then a bath or two in hot detergent. Then several rinsings.


The goal is to have clear rinsewater like this!


After all that, things get pretty tangly!


Untangled and hung up to dry. But not finished! After drying comes a trip to the scanner, publishing to the website, balling up, and mailing off!


CLICK HERE TO SHOP